
PERSONALISE YOUR FOLDER!

Heyyy Jemples and welcome back to another post but this one like I promised is nothing to do with make-up or beauty whatsoever instead it's a DIY post! Before starting this post I just want to thank all of you a million and fifty times for you're immense support! It's been totally surreal as I've mentioned many times before this started off as a hobby and now it's reached the point where it's totally unbelievable to even think that I'm getting so much support from everyone around the world. So why the hell am I saying this it's because my blog and it's contents are now visible on google upon searching. A special mention to NabiilaBee who without doubt has to be one of the sweetest people ever she without even giving it a second thought shared my blog on her facebook page which means so much to me! I wanna thank you all for constantly spreading the word and I know you'll continue to do so. Lots of love x
Anyhow back to the post now this post was actually inspired by the A levels result day which took place just last Thursday I really hope all of you got what you expected or even if you didn't are happy with the unexpected twists and turns that life has presented to you. I actually got into the university of my choice to study Law which has been my dream for such a long time so I was so happy that I did exceptionally well. It was all the result of sincere hard work that led me to come third in my entire college! I know it still hasn't sunk in! So ever since I found out I was going to uni in October there's only been one thing on my mind which is stationery shopping!! I'll have to tell you all about what I bought but in another post really soon but one of the things I did buy was this plain lime green folder. It so happened that I was cleaning out all my jewellery yesterday and all the little broken bits and bobs actually gave me the idea to decorate my folder just so it's a lot more personal to me. So I sat down today to decorate and I thought it would be really cool to share my design process with all you guys! There's nothing better than starting school, college or university with personalised things.....
STEP 1: Start off by gathering all the things you need. I chose a lime green folder to personalise you obviously can choose whatever colour you like! I placed a newspaper on the floor just to stop it from getting dirty and on top of it I placed all the things I needed: scissors, glue (strong glue and normal clear glue), a beauty magazine (so I could cut out things that I like to stick on my folder) and some broken pieces of jewellery and beads to stick on the folder too (again this is completely optional but I love bling so it kinda became necessary for me!)

STEP 2: Cut out all the things you want so they're ready to stick onto the folder. I cut out quotes, pictures of makeup, perfumes, brushes and basically everything I enjoy. Obviously you can cut out whatever you like and can even go one step further by cutting out pieces of different coloured cards or left over wrapping paper. The key to this is to use up whatever you have lying about the house.

STEP 3: Arrange and stick down. I found that the easiest way to do this was to arrange a small section and then stick it down it'll be a lot harder if you arrange everything and then try to stick them down all together small sections work much better. To stick down use pva or a normal clear glue and not a glue stick because it won't stick down that easily.

STEP 4: Add the bling! So this is completely optional and if you don't like bling you can always use other things to stick on top. Felt stars, beads the possibilities are seriously endless. To make sure these stayed and didn't budge I used a much stronger glue! You don't want pieces of bling falling off whilst you walk!

STEP 5: Let it dry! Leave it to dry overnight and cover it with some clear film and you're good to go! Voila you're personalised and unique folder is ready!


And that's the end of this post! I can seriously say that this was a lot of fun to make and the different types of designs you're able to make are completely endless. I loved making this and I'm sure you guys will love it too! Like always please comment and share it would be much appreciated. And if you do decide to personalise your folder I'd love to see it. Until next time bye bye Jemples! x
**************************************************************************************
QUICK MANGO CHEESECAKE
Ingredients unlike yesterday you can't really alter these to your liking except for the mango you can try any other fruit or even chocolate!
One packet of plain digestive biscuits
140g of butter
300ml of double cream
50g of icing sugar
2 tins of custard
1 or 2 fresh mangoes (depending on the size mine was quite big so I only used 1)
1. Break up all the digestive biscuits in a large bowl until the pieces are quite fine (this is the perfect time for you to let out any frustration!!) and add in the butter, but make sure you melt the butter first! (BTW if the pieces are still quite big like mine you can mash them further once the butter has been added.

2. Spread an even layer of biscuit into 1 or 2 dishes (depending on size) and refrigerate for 10 minutes, just so that the base is a bit firm.

3. After 10 minutes spread an even layer of custard on top of the base and refrigerate for another 10 minutes. (you can make the custard yourself if you prefer)

4. Whilst that's in the fridge, you can go ahead and prepare the mango cream! Add the icing sugar and the double cream into a bowl and whisk away until it is quite thick (this took me a hell of a lot of time maybe I should've used and electric whisk instead!)

 5. Once the cream is quite thick add the mango puree (oops I forgot to tell you how to make the puree: blend the mango, in a blender until it's like a puree, you don't want to make it into a juice) mix in the mango puree or any other fruit or chocolate!
6. And finally it's now it's time to decorate in any way that you wish! Once you've decorated put it back into the fridge, this has to be refrigerated for at least 4 hours before serving so that when you take out a slice the layers stay firm and don't start to leak.
5. Once the cream is quite thick add the mango puree (oops I forgot to tell you how to make the puree: blend the mango, in a blender until it's like a puree, you don't want to make it into a juice) mix in the mango puree or any other fruit or chocolate!
6. And finally it's now it's time to decorate in any way that you wish! Once you've decorated put it back into the fridge, this has to be refrigerated for at least 4 hours before serving so that when you take out a slice the layers stay firm and don't start to leak.


 5. Once the cream is quite thick add the mango puree (oops I forgot to tell you how to make the puree: blend the mango, in a blender until it's like a puree, you don't want to make it into a juice) mix in the mango puree or any other fruit or chocolate!
**********************************************************************************
CHOCOLATELY CHOCOLATE (& VANILLA) CAKE
Ingredients I changed a lot of these from the original recipe just because of the products I had at home, of course you can substitute and change the amounts based on preference and obviously the amount of cake you want to make. With these ingredients I managed to bake two 7 inch cakes.
150ml Sunflower oil
150ml of plain yoghurt
175g of brown sugar
3 eggs
1 tablespoon of jam (any flavour & type)
225g of Self Raising flour
3 tablespoons of cocoa powder (I used hot chocolate powder)
1 teaspoon of Bicarbonate of Soda
175g of milk chocolate
50g of butter
7 inch cake tins (I used two disposable ones so that it saved time washing up!)
Betty Crockers Vanilla icing (you can use chocolate)
White chocolate buttons & icing sugar (for decoration)
1. Add the brown sugar, eggs, oil, yogurt, jam into a large bowl and whisk until the eggs have been properly beaten.

2. Sift in all the dry ingredients (flour, bicarbonate of soda & cocoa powder) and make sure the mixture is properly whisked.


3. Grease the cake tins and put in the mixture, if your using more than one cake tin like me then make sure the mixture is pretty evenly put into both. Place these in the oven (gas mark 3) for approximately 1 hour. The time it stays in the oven depends entirely on the speed of your oven. (quick tip if you think it's baked poke a knife into it and if it comes out clean then that means it is properly baked. Wow I sound like a propa Chef!)

4. Once it's baked it'll look something like this, take them out of the oven and leave them to cool for about 10 minutes on a wiring rack.

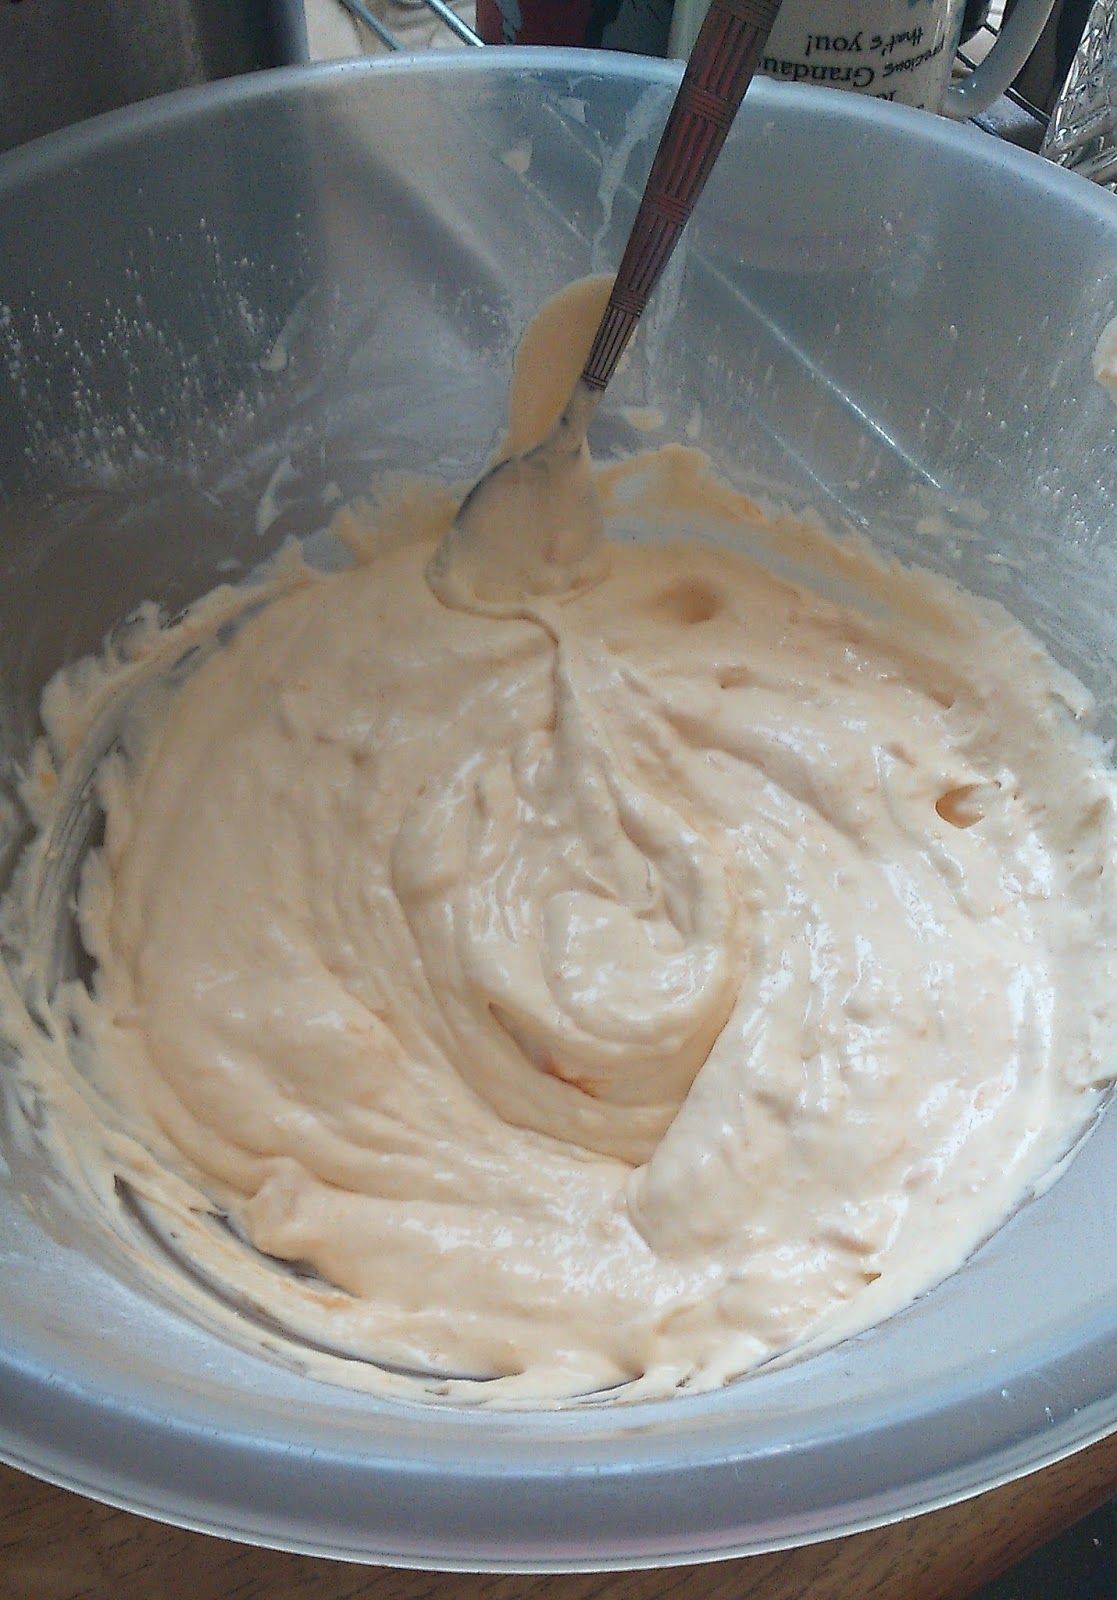
 5. Whilst that's cooling, it's time to prepare the chocolate icing to spread on the top of the cake. Melt the chocolate and the butter together until it looks like this.

6. Once the cake has cooled spread an even layer of vanilla (or chocolate) icing over the top. The Betty Crocker one not the one you've just made! This will be used to stick both the layers together. BTW if you're just making one cake then skip steps 6 & 7
7. Once you've spread the icing put the cakes on top of one another and fill in any gaps around the edge using the leftover vanilla icing.
 8. Now it's time to spread the chocolate icing we've made over the top. You can be as messy as you want! And stick on the white chocolate buttons.
9. If you've got buttons left over melt them and then drizzle them over the top (that's what I did!) and also sprinkle over just a bit of icing sugar. Viola! Your quick and easy chocolate cake is made, see I told you it's really easy!!


******************************************************************************
Cake Pops Recipe!!
So guys I'm back with another blog post (sorry its a bit late I know a lot of you have been eagerly waiting) but this post is slightly different, in fact it's a much requested post, my recipe to make SIMPLE, EASY & CHEAP cake pops that you can customise as you please. One fun thing about this recipe is that anyone can make them because they require very little skill but they do require a lot of patience. Oooh I just forgot the votes for the names have been counted and verified (BGT and X factor style) and the name that has been chosen is *drumroll................* JEMPLES!!


So Jemples (Eeep it's the first time I've called you all Jemples!!) if you want to know how I made these delicious looking (and tasty) cake pops then stay tuned. Oh before we start I'm going to throw a little disclaimer out there, if it's your first time making these (the same as me) then you're going to need a lot of patience and even after that patience, if things don't necessarily go to plan (the cake pops may not be circle all the time) then don't worry just try, try and try again and if all else fails then cover up your mistakes with the decoration! (I covered mine up with the chocolate!) So as you probably gathered this post is a mixture of recipes and my first time experience with Cake Pops, Enjoy!!
Oooh if you try out this recipe then leave a comment and an image below so I can see how you got on! And also tell me whether you like these kinds of recipes and what you want me to do next.
SERVES 18 (approximately, depends on the size of your hands!!)
INGREDIENTS:
To make it easier for you all I'm going to link where to buy each ingredient from, just click on the pictures. Don't worry you'll only need a few ingredients that are quite cheap to buy:
- 2 Sponge cakes- I used Tesco's Raspberry Sponge cakes priced at 58p each ( BTW I gotta admit I cheated a bit you are supposed to bake the cakes yourself, but like I said this recipe is Simple and Easy so a little bit of cheating won't change the taste I promise)

- Betty Crocker vanilla frosting- again bought from Tesco priced at £2.25 (you'll only need 2 tablespoons so there's plenty left for later)

- Milk Chocolate or White Chocolate- depending on your taste (150g) x 2 bars- Priced at just 30p each! Wohooo! Tesco you are so cheap and wonderful (especially your Clubcard Points)

- Chocolate Sprinkles for decoration- I used Cake Angels Chocoholic's Delight sprinkles (only because they were on offer in Tesco, so defo hurry and get some while they're still cheap!)

METHOD- 10 Easy Steps! (Phew finally got there!)
- Crumble the sponge cakes into a medium sized bowl (preferably by hand instead of your feet!) until the crumbs are quite fine.
- Mix in 2 tablespoons of Vanilla frosting (this can also be altered because remember this makes the cake pops sweet, if you like them less sweet then add less and if you like them more sweet then add more) and make a playdough like substance (only it's food you can eat it!). Make sure all the ingredients are bound together.
- Cover a small baking try with cling film (so the dough doesn't stick to the tray).
- Using an ice-cream scooper (or your hands) make even sized dollops of the dough and dollop onto the baking try. A little something like this:

- Place this tray into the fridge for 30 minutes.
- Whilst you are waiting it's probably best that you pre-melt the chocolate (at least 10 minutes before) so that the chocolate isn't as hot. I melted mine after taking the pops out of the fridge and because the chocolate was so hot I often found that the dough would go sticky, like in the image above. I used milk chocolate but you can use white if you wish:

- The dough should know be more firm and less sticky. Using your hands (or any other method you can think of) roll the dough into even balls, they should be pretty even in sized because of Step 4 and should look quite similar to this:

- Now that the balls are made start to the dip them into the chocolate. the best way to do this is to coat the chocolate onto the balls using a spoon or your hands because by rolling the balls into the chocolate the shape is sometimes ruined (this happened to me!)
- Now is also the best time to sprinkle any decorations on the top because it may be difficult to stick the sprinkles on later.
- Place in the fridge for another 30 minutes and after this stick any sticks you find lying around the house, that are clean (toothpicks, chopsticks, straws anything!). You can also pipe on any other decorations and your cake pops are now ready to enjoy! They can be stored in the fridge and BTW adding the sticks is completely optional (especially if it's not for a special occasion!)

Wow what a great recipe and the steps are really easy to follow. Thanks for all the extra tips will definitely be useful when I try this recipe out. Cant wait, hope mine turn out as great and tasty looking as yours.
ReplyDeleteThank you and don't worry the defo will!! xx
Deletetrust me once you follow the recipe it tastes like heaven thanks jemima!
ReplyDeleteNo problem x
DeleteThey are really yummy:-D
ReplyDeleteThumbs up to Jemima
Really enjoyed your yummy cakes heaven on earth
ReplyDeleteThank you and they really are!
DeleteThey look so good, this is mega helpful definitely going to try to make some!! <3
ReplyDeleteYes make sure, they taste really good. Have fun making them!!
DeleteWill defo be trying these recipes!
ReplyDeleteThis is my favourite tab!! Can you post some more of your creations please, love it!!
ReplyDelete